So, you've decided to venture into the world of home recording. Congratulations! This is an exciting and fulfilling journey, but it can be challenging for beginners. This comprehensive guide will provide you with essential tips and tricks to help you set up your home studio, record with confidence, and create professional-quality recordings.
Essential Equipment for Home Recording
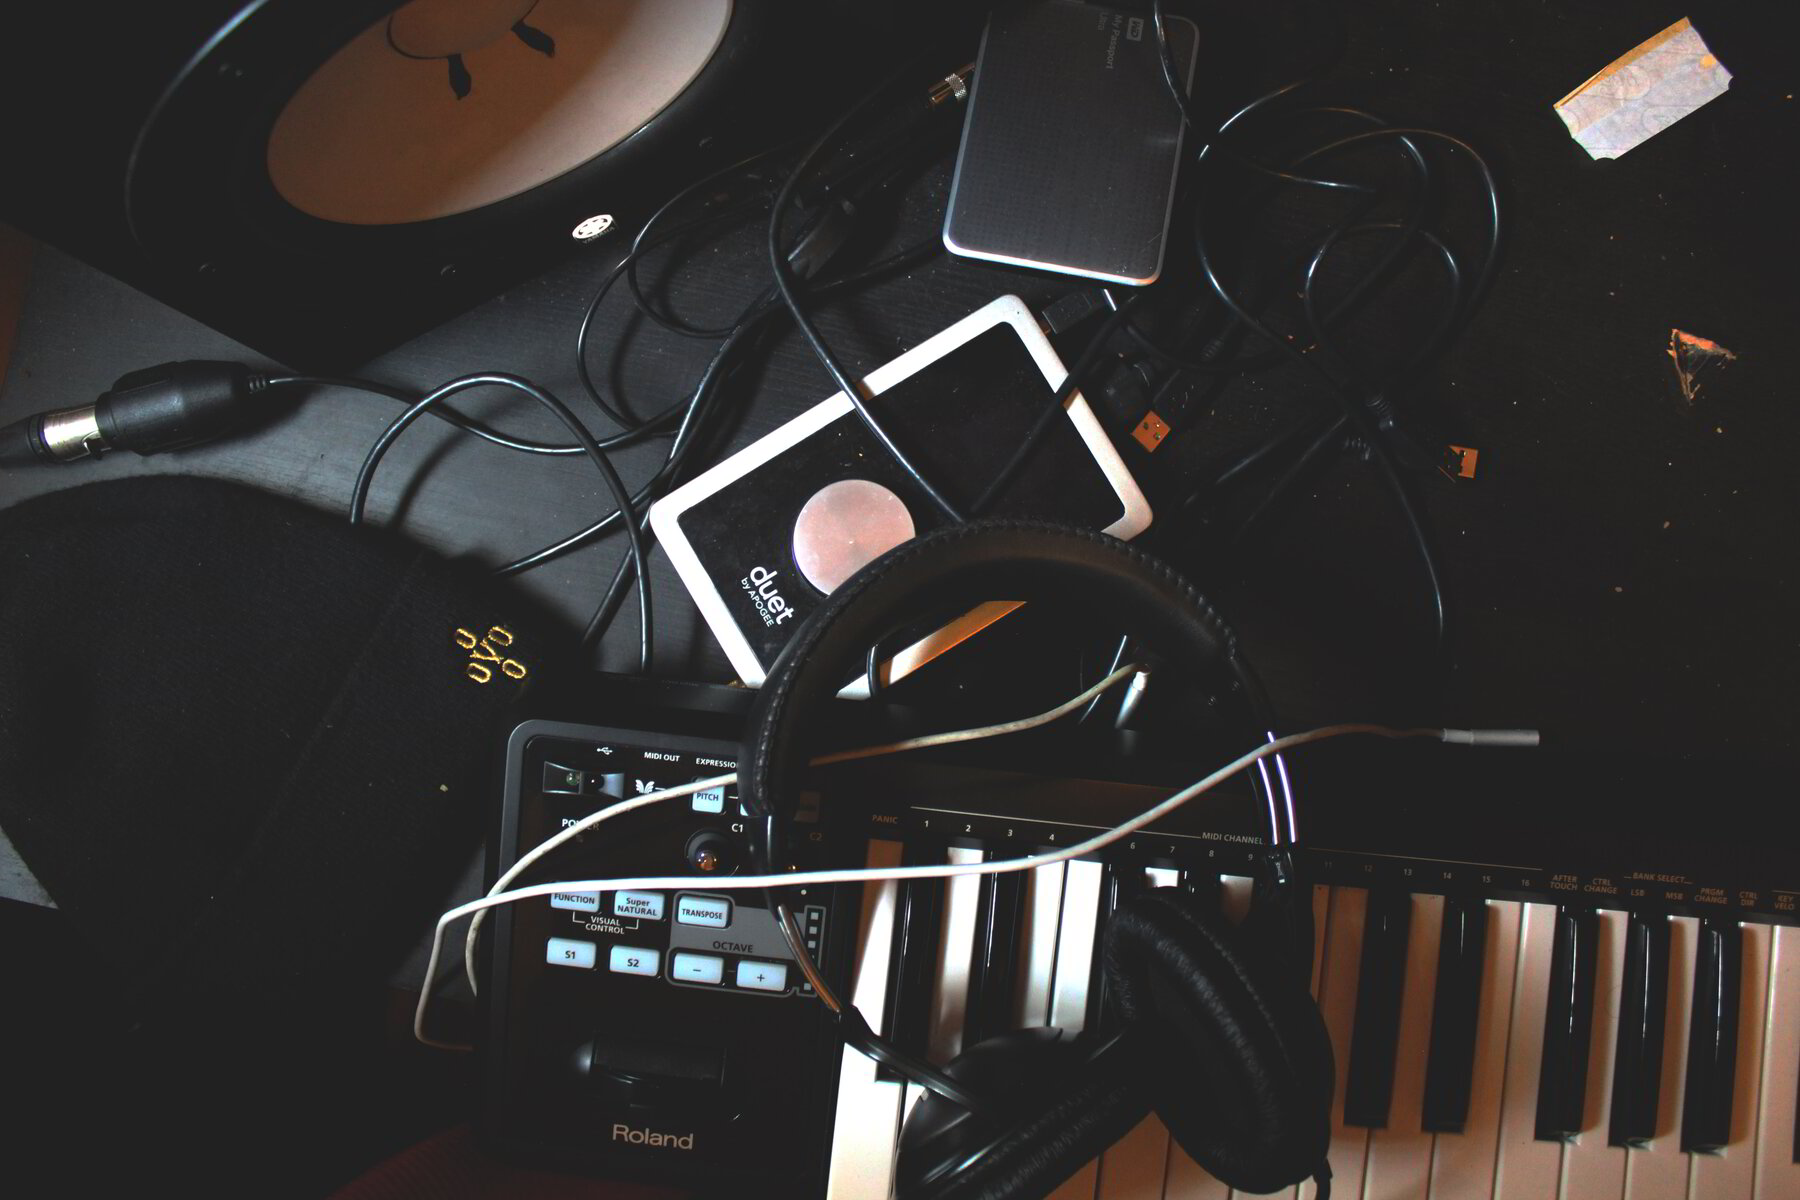
Before you dive into recording, you'll need to invest in some basic equipment. This section covers the essential gear you'll need to get started.
Audio Interface
An audio interface is the heart of your home studio. It connects your instruments and microphones to your computer, allowing you to record and playback audio. Look for an interface with enough inputs and outputs to accommodate your needs and a compatible connection with your computer (USB, Thunderbolt, etc.).
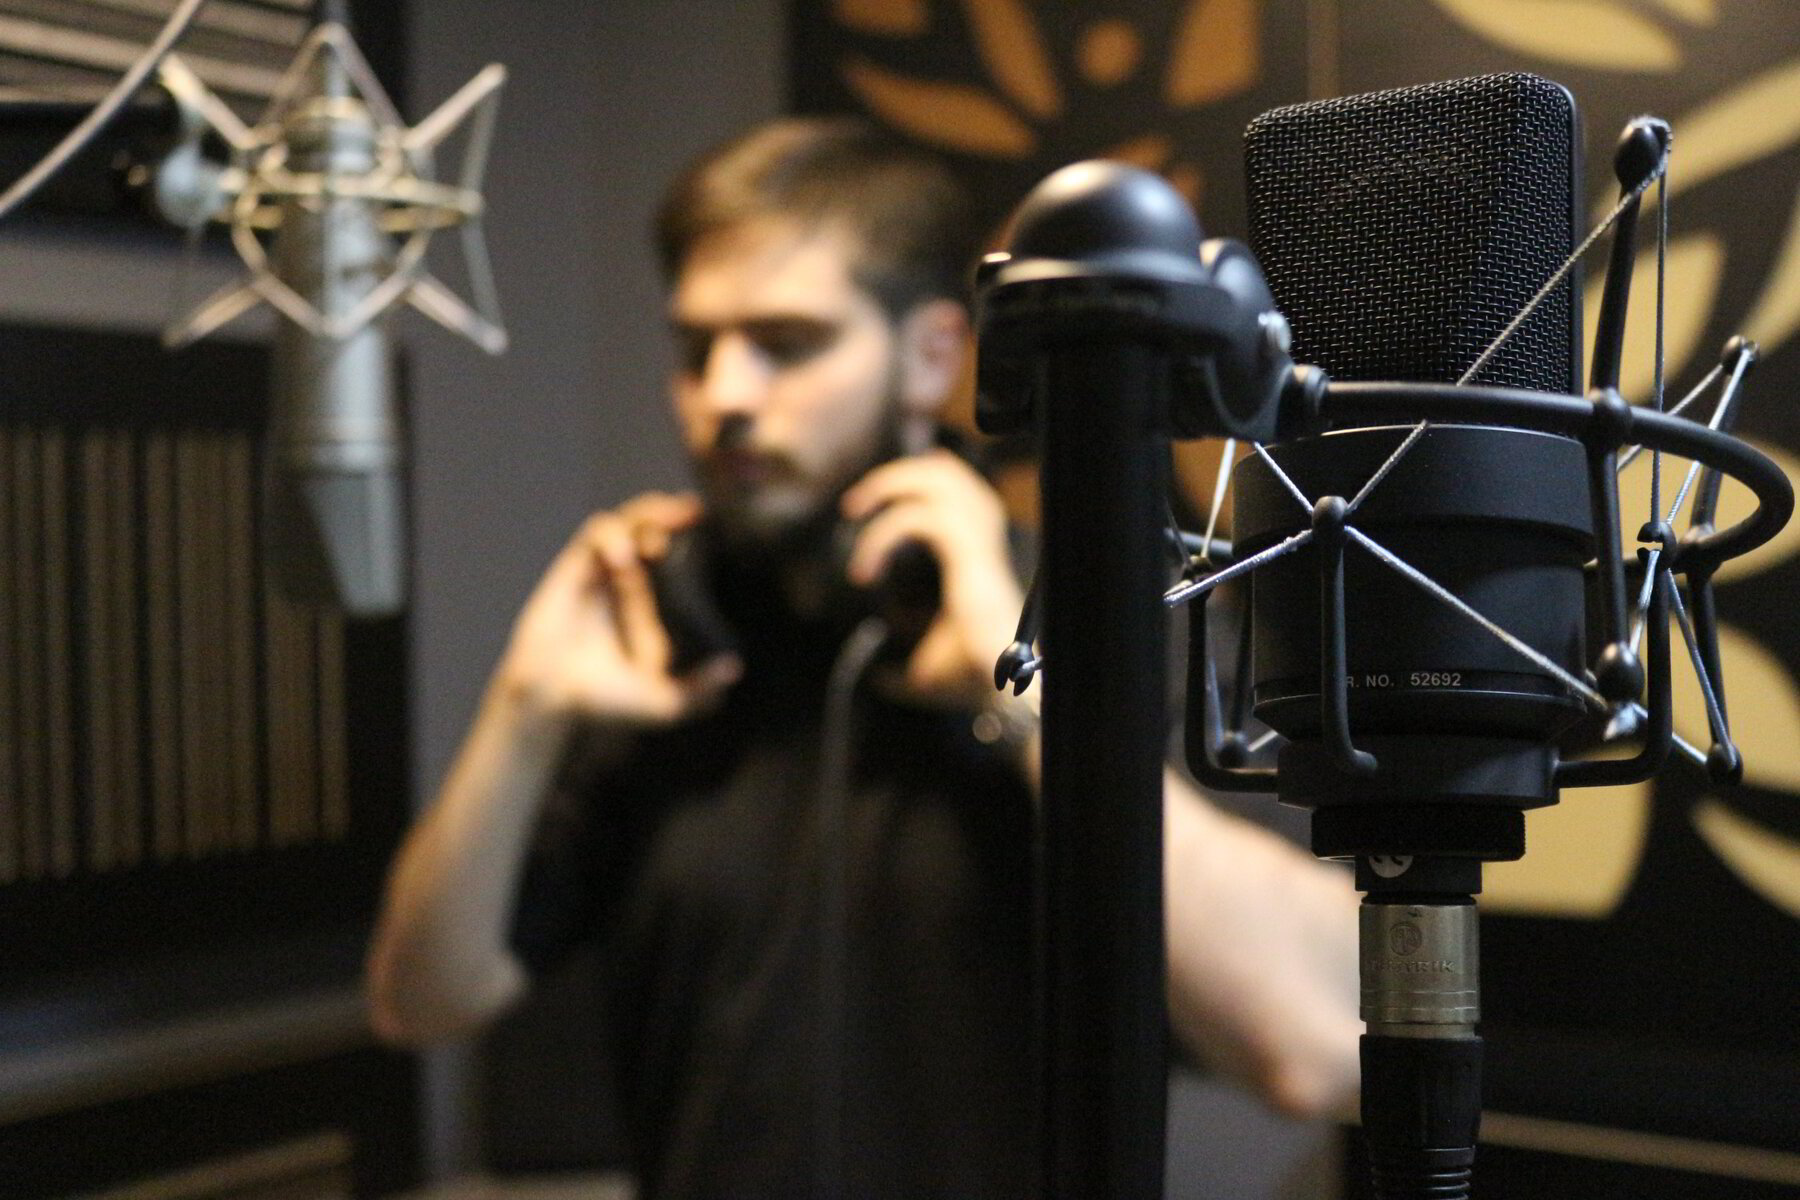
Microphone
A good microphone is crucial for capturing high-quality audio. There are many types of microphones available, but a large-diaphragm condenser microphone is a versatile choice for vocals and various instruments. Remember, a microphone's quality can significantly impact your recordings, so invest in the best one your budget allows.
Studio Monitors and Headphones
Accurate monitoring is essential for making informed decisions during recording and mixing. Studio monitors are designed for this purpose, providing a flat frequency response that enables you to hear your recordings objectively. Additionally, invest in a pair of quality studio headphones for more detailed listening and tracking without disturbing others.
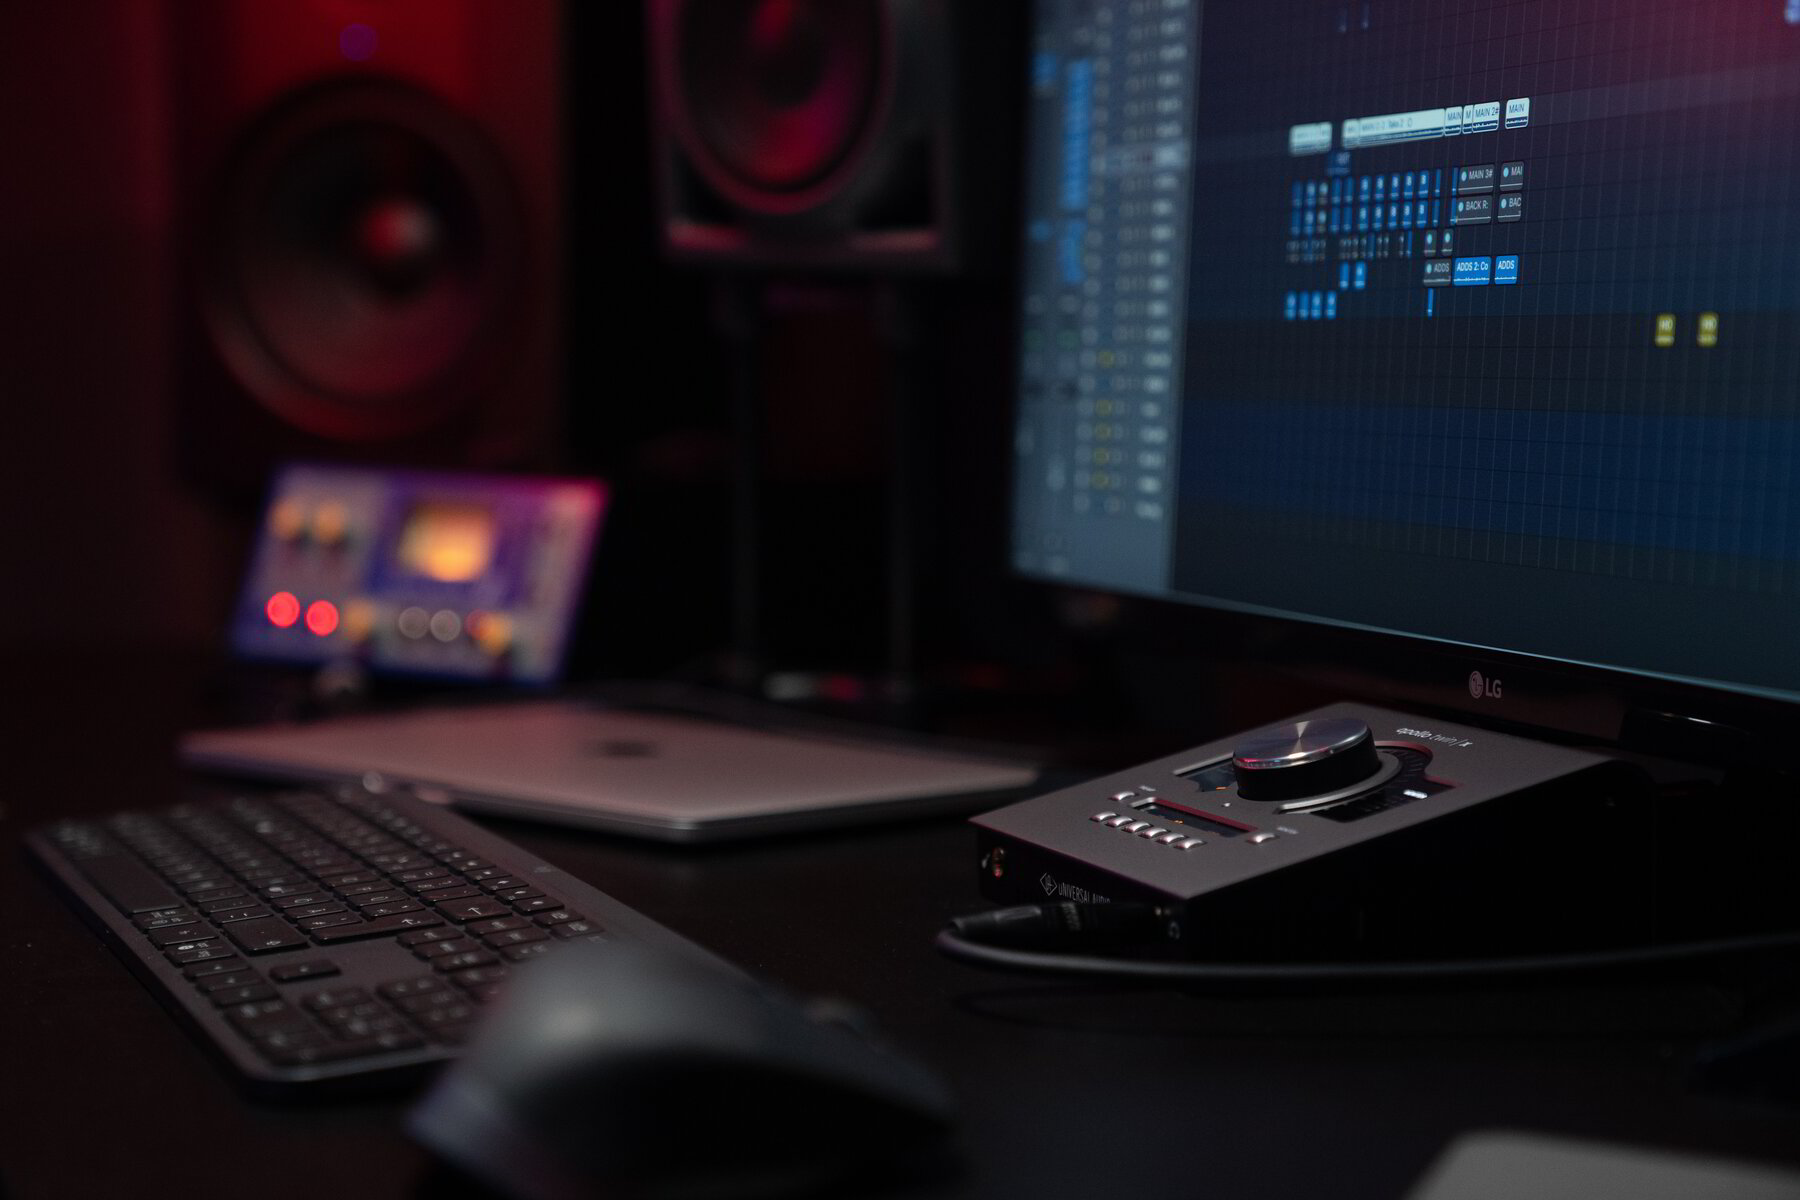
Digital Audio Workstation (DAW)
A DAW is the software you'll use to record, edit, mix, and master your music. Popular DAWs include Pro Tools, Logic Pro, Ableton Live, and FL Studio. Choose a DAW that suits your workflow and supports your preferred recording and editing features.
Setting Up Your Recording Space
A well-planned recording space is critical for achieving professional results. Consider these factors when setting up your home studio.
Room Selection and Acoustic Treatment
Choose a quiet, dedicated room for your studio. Consider the room's size, shape, and materials, as these factors influence its acoustic properties. To minimize reflections and standing waves, invest in acoustic treatment, such as bass traps, absorption panels, and diffusers.
Ergonomics and Workflow
Arrange your equipment to maximize comfort and efficiency. Place your studio monitors at ear level and an equilateral triangle with your listening position. Ensure your desk and chair are at a comfortable height, and keep frequently-used gear within easy reach. A well-organized workspace promotes productivity and reduces fatigue during long sessions.
Recording Techniques
Once your home studio is set up, it's time to start recording. Follow these techniques for optimal results.
Microphone Positioning
Proper microphone positioning is crucial for capturing the best sound possible. Experiment with different placements and distances to find the sweet spot for each instrument or vocal performance. Keep in mind that small adjustments can make a significant difference in the overall sound.
Gain Staging
Gain staging refers to setting the appropriate levels at each stage of your signal chain, from the microphone preamp to the DAW. Proper gain staging ensures optimal signal-to-noise ratio and headroom, preventing distortion and maximizing audio quality.
Recording Levels and Clipping
Ensure your recording levels are set correctly to avoid clipping, which occurs when the input signal exceeds the maximum level the system can handle, resulting in distortion. Aim for average levels around -18 dBFS with peaks no higher than -6 dBFS to leave ample headroom for mixing and mastering.

Mixing and Editing
After recording, you'll need to mix and edit your tracks to achieve a polished, professional sound.
Balancing Levels and Panning
The first step in mixing is to balance the levels of each track and set their stereo position using panning. This creates a cohesive mix with each element occupying its space in the frequency spectrum and stereo field.
EQ, Compression, and Effects
Equalization (EQ) is used to adjust the frequency balance of individual tracks, enhancing or reducing specific frequency ranges. Compression helps control the dynamic range of a track, making it sound more consistent. Effects like reverb, delay, and chorus can add depth and character to your mix. Use these tools judiciously to enhance your recordings without over-processing.
Exporting and Mastering
After your mix is complete, you'll need to export it as a stereo audio file. Mastering is the final step in the process, where you'll make subtle adjustments to the overall sound, ensuring consistency across different playback systems and platforms.
Conclusion
Home recording can be a rewarding and fulfilling pursuit, allowing you to express your creativity and produce professional-sounding music. By following these tips, investing in essential equipment, and honing your recording and mixing skills, you'll be well on your way to creating high-quality recordings from the comfort of your home studio.
FAQs
1. What is the best DAW for beginners?
There isn't a one-size-fits-all answer, as the best DAW for you will depend on your preferences and workflow. Popular DAWs for beginners include GarageBand, FL Studio, and Reaper due to their user-friendly interfaces and comprehensive features.
2. Do I need an expensive microphone to get good recordings?
While more expensive microphones often provide better sound quality, it's possible to achieve excellent results with budget-friendly options. Focus on proper recording techniques, and invest in the best microphone you can afford.
3. How can I improve my room's acoustics without spending a fortune?
DIY solutions, such as using heavy curtains, rugs, and bookshelves filled with books, can help absorb and diffuse sound. Additionally, you can create your own bass traps and absorption panels using affordable materials like insulation or foam.
4. What's the difference between studio monitors and regular speakers?
Studio monitors are designed to provide a flat frequency response, allowing you to hear your recordings objectively. Regular speakers often have built-in EQ and other processing, which can colour the sound and make it difficult to make informed mixing decisions.
5. How important is mastering in the home recording process?
Mastering is an essential step in creating professional-sounding recordings, as it ensures your mix translates well across various playback systems and platforms. While it's possible to learn basic mastering techniques and apply them to your own projects, hiring a professional mastering engineer can provide the best results, especially for commercial releases.
The Indie Artist's Home Recording Handbook
A free guide to help indie artists capture the highest quality recording possible from their home studio setup
Recording music is not easy, especially in a home studio environment. There are so many things that you need to get right to ensure you get the best quality recording.
Sure, you can plug a mic in and hit record. But how do you know if you are doing it right to capture the best performance?
I've been there – struggling with a bunch of tiny issues that eventually snowball into big ones. It's an uphill struggle trying to do everything using amateur equipment rather than a full-on professional set up. But the good news is, it can be done!
I've put together this guide to walk you through every stage and setting step-by-step to make sure you are getting the best quality recording you can in your home studio.
We will literally never ever ever send spam